Handprint Snowman Measuring Boards: My Favourite Parent Gift
Nov 01, 2026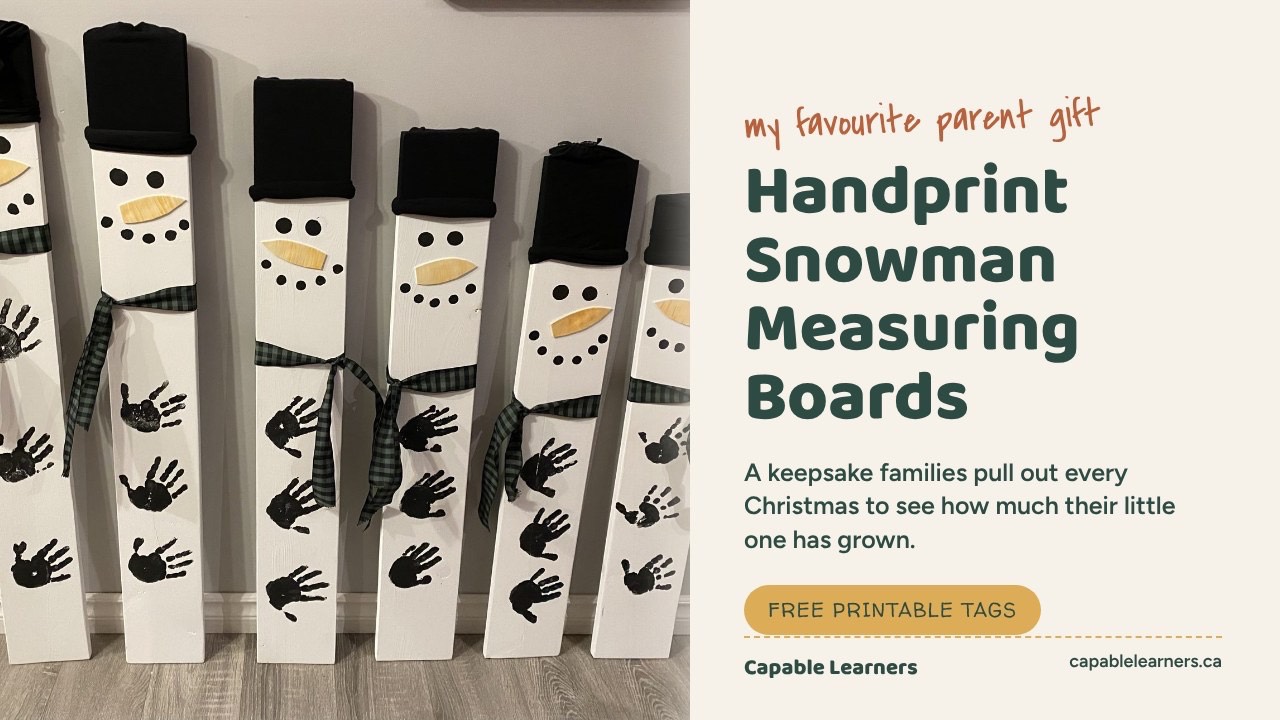
Some gifts get opened, smiled at and tucked away. And some get pulled out every single December, leaned against the wall, and fussed over all over again. These snowman measuring boards are the second kind, and they're one of my most favourite parent gifts I've ever made.
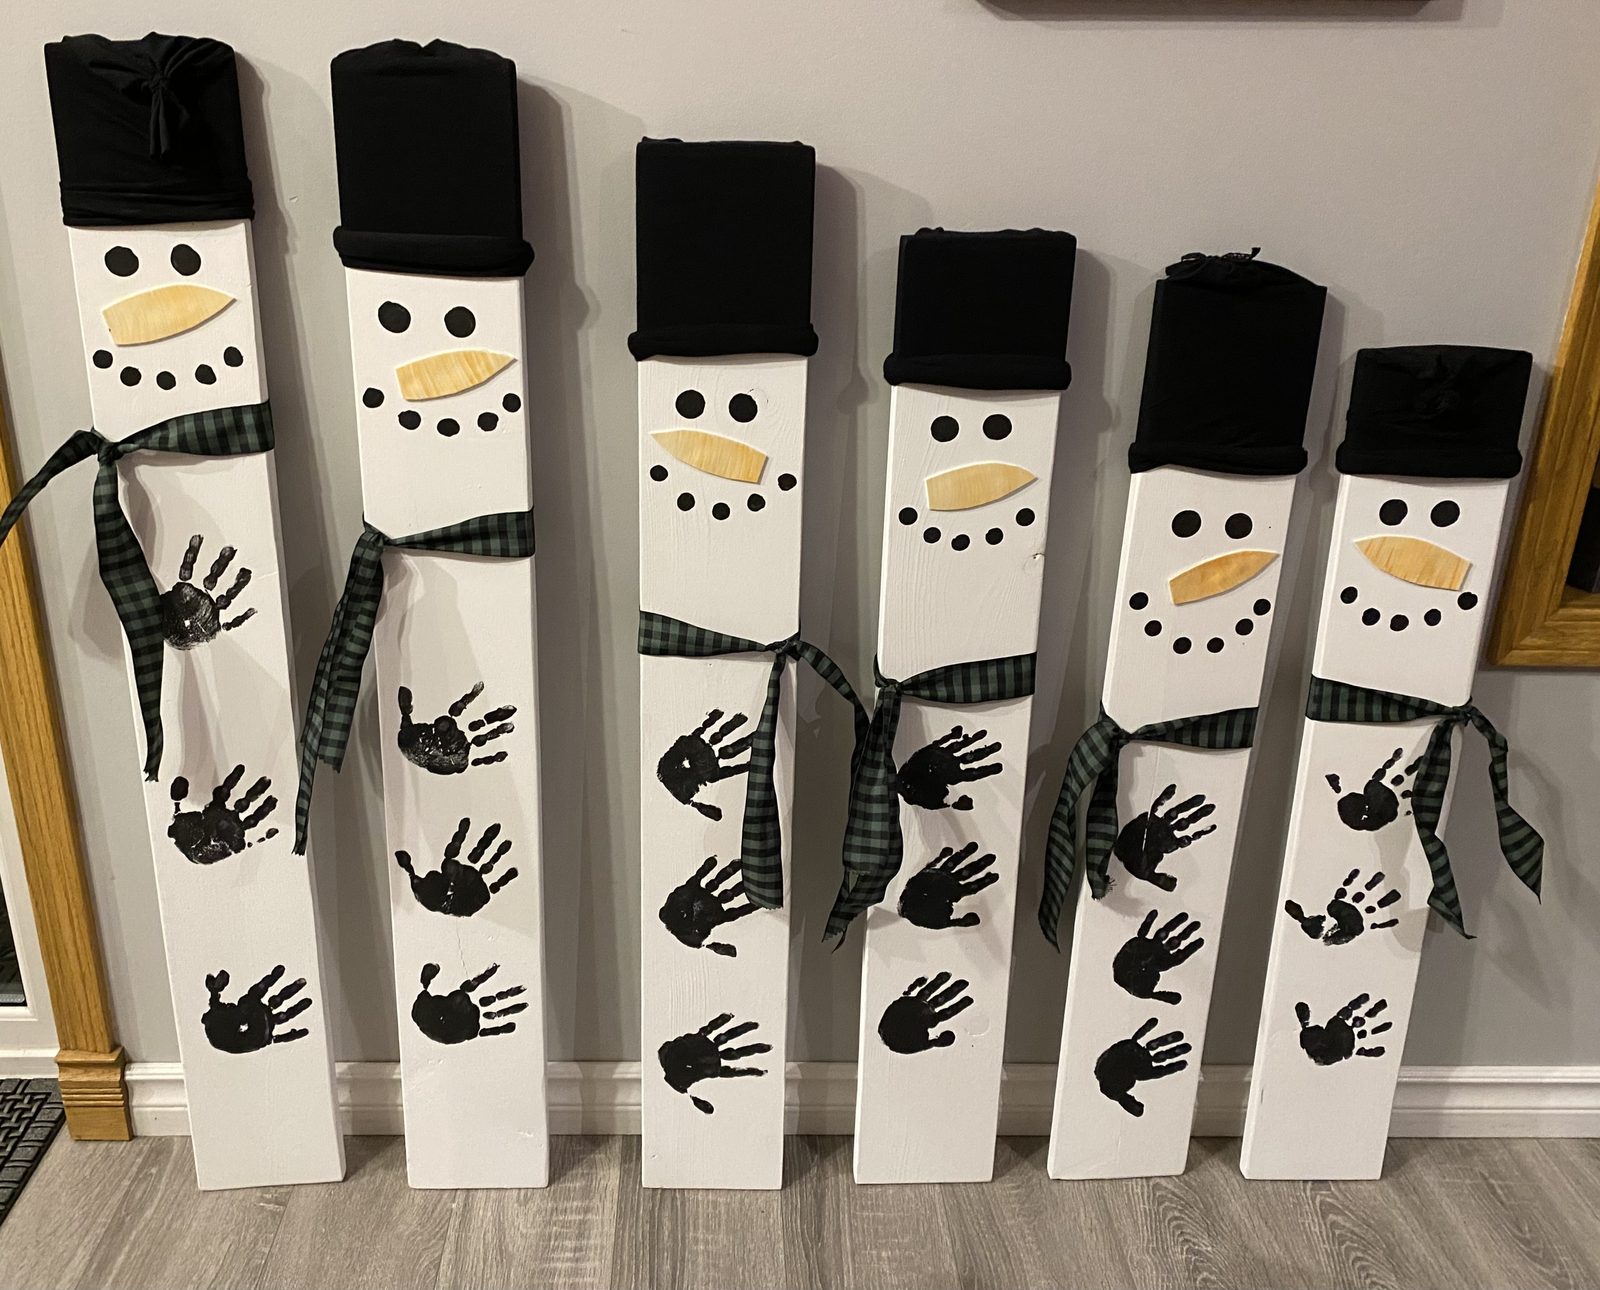
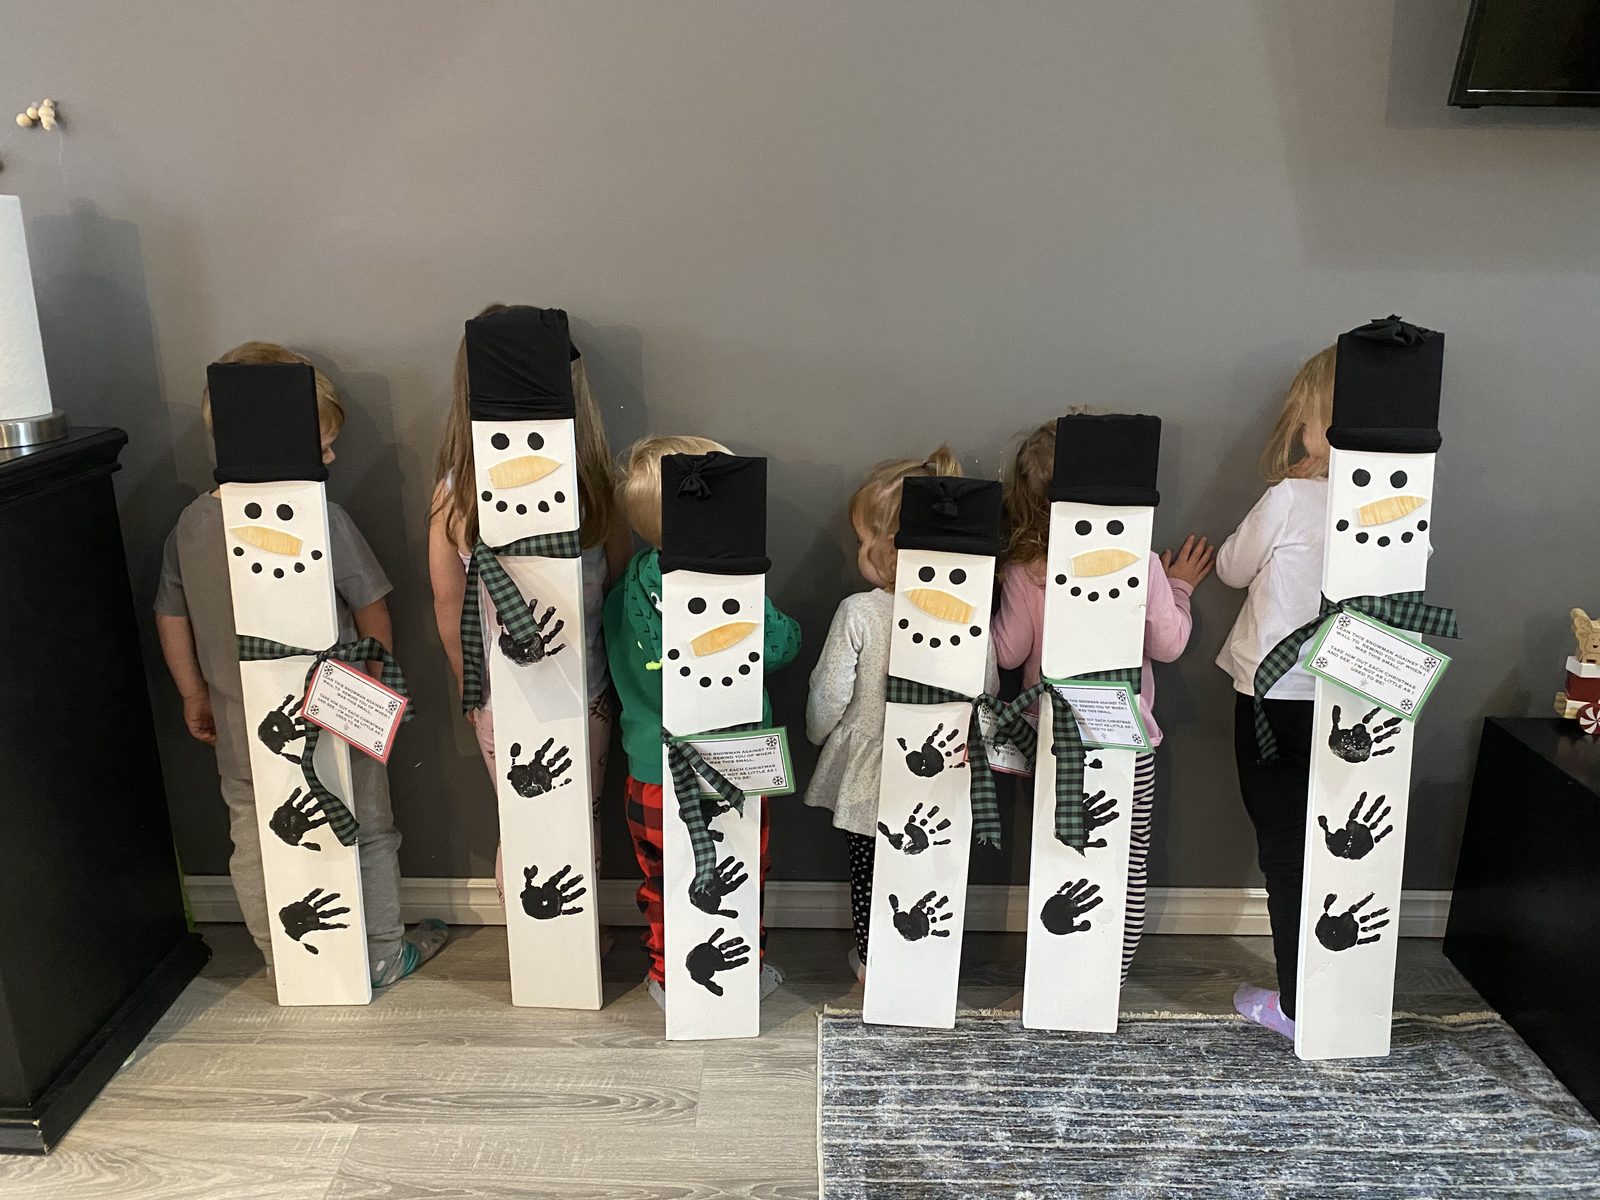
Each snowman is cut to the exact height of the child it belongs to, then finished with their own little handprints. Years later, families still tell me they bring theirs out every Christmas to see how much their child has grown. That's the whole magic of it.
Jump to: A quick note · How to make them · The poem tag · Tips
A Quick Note: This Isn't Process Art (and That's Okay)
If you've been around here for a while, you know how much I love open-ended, child-led art. This project is not that, and I want to be upfront about it.
These boards are a gift from educator to parent. I do almost all the work: measuring, cutting, sanding, painting and dressing them up. The children add the most important part, their handprints. And that's enough. Not every project in a dayhome has to be process art. Sometimes it's simply about giving families something that says, "I see your child, and I love who they are right now."
How to Make Snowman Measuring Boards
What you'll need
- 1x4 boards, one per child
- A saw and sandpaper
- White paint for the boards
- Black and orange acrylic paint for the face
- Stretchy black fabric for the hats, or dollar-store toques
- Ribbon for the scarves (I used a green and black plaid)
- Black paint for the handprints
- Printed poem tags (grab mine free below)
How to put them together
- Measure each child. Stand them against the wall and mark their height. This is the part that makes each snowman their own.
- Cut a 1x4 to that height. No two snowmen will be the same size, which is exactly the point.
- Sand them nice and smooth. Take your time on the edges, since little hands will be touching these for years.
- Paint them white. Give them a couple of coats and let them dry fully.
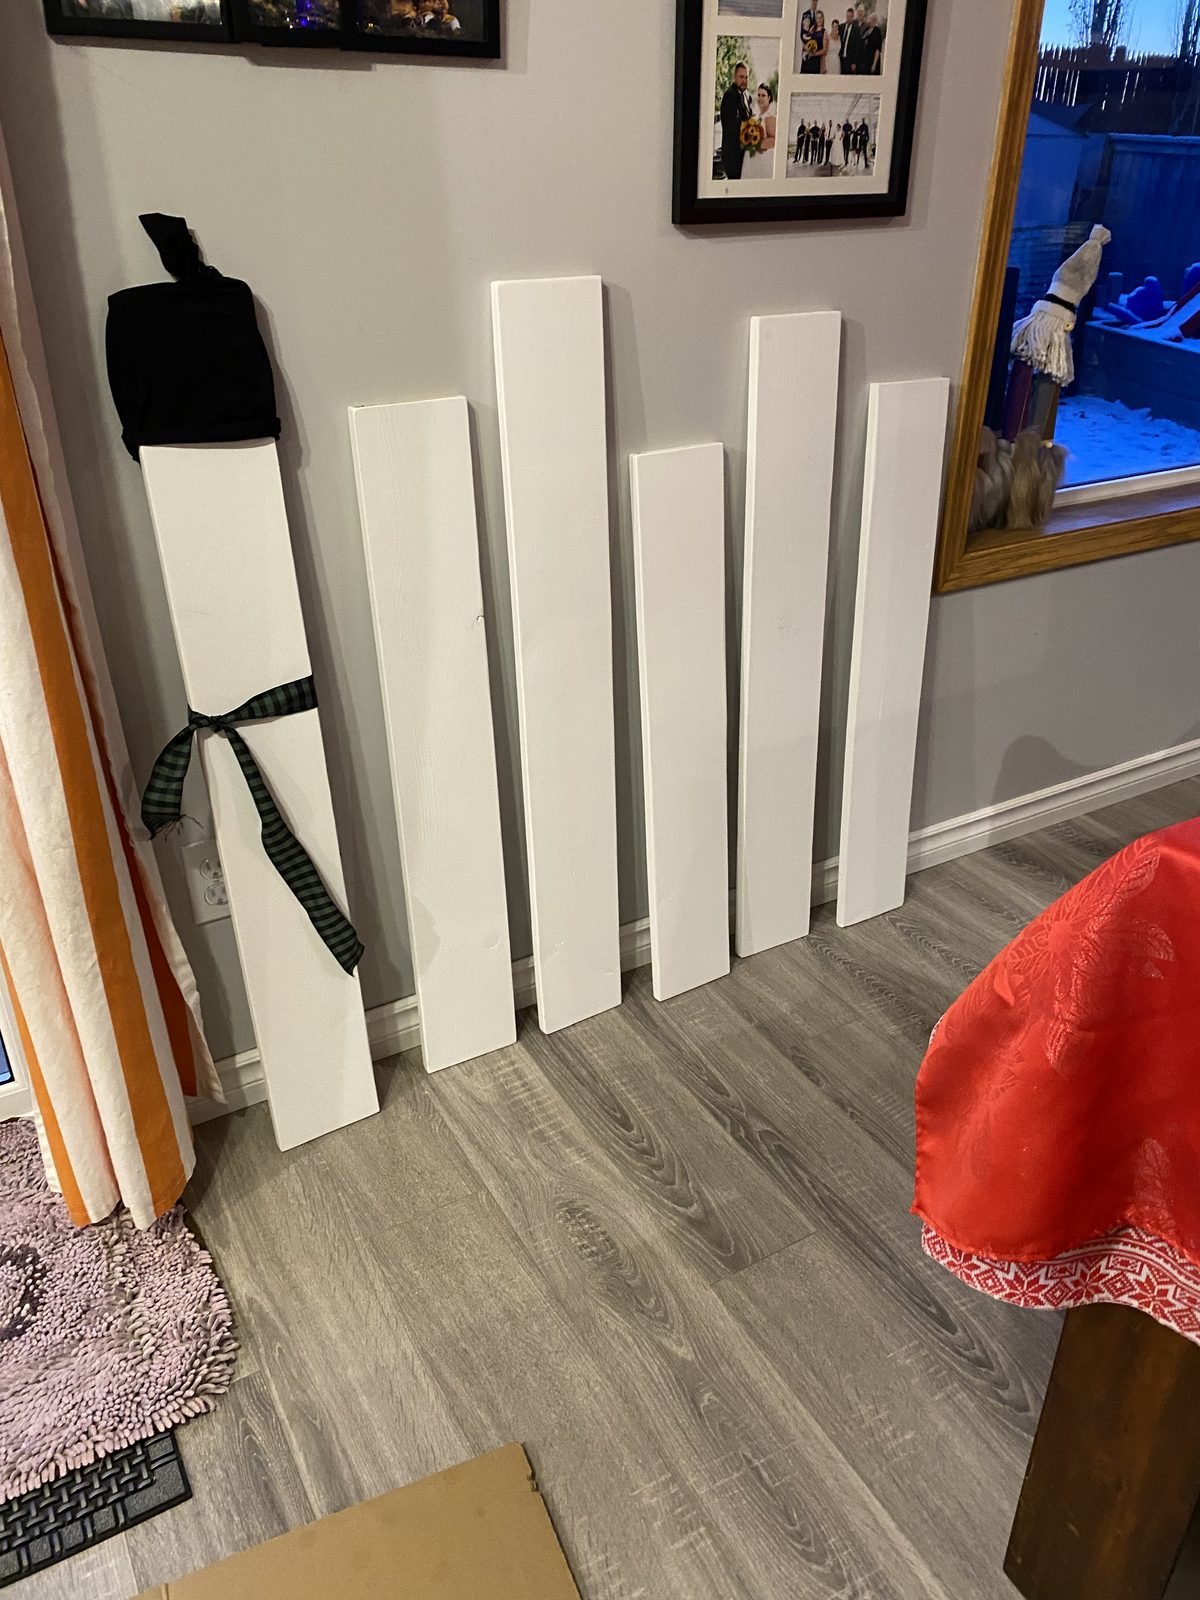
- Add the hat. I sewed simple toques out of stretchy black fabric and slipped them over the top of each board. If sewing isn't your thing, a dollar-store toque works just as well.
- Paint the face. Two eyes, a carrot nose and a dotted smile in acrylic paint. Simple is perfect here. (I used coloured foam for the noses on mine, and I don't recommend it. The foam faded over time. Paint lasts.)
- Tie on a scarf. A length of ribbon tied just under the face makes it look finished.
- Add the handprints. Paint each child's hand black and press it onto the board three times, going down the body like the snowman's buttons.
- Tie on the poem tag and they're ready to go home.
Let the kids help!
The handprints are all theirs. Talk about how the paint feels, count the buttons together ("one, two, three!"), and let them watch their hand turn into part of the snowman. Some children love it, and some need a minute. Both are okay.
What they're learning:
Even in an educator-led gift there's real learning: sensory input from the paint, counting, body awareness, and a big dose of pride when they see "their" snowman standing as tall as they are.
The Poem Tag
Every snowman goes home with this little poem tied to its scarf:
Lean this snowman against the wall
to remind you of when I was this small.
Take him out each Christmas and see,
I'm not as little as I used to be!
That last line gets parents every time. I made a printable version so you don't have to: six tags per page, with a spot for the child's name and the year, in full colour or low ink. Print on cardstock, cut, punch the hole and tie it on with the scarf.
Free Snowman Measuring Board Tags
The poem tags plus a one-page how-to for making the boards.
Get the free tags →
Tips for Making Snowman Measuring Boards
- Start early: The cutting, sanding and painting take a few evenings, so begin in November.
- Paint the nose: Skip foam or paper noses. They fade, and paint holds up year after year.
- Do handprints on a good day: Pick a calm morning, have wipes ready, and do one child at a time.
- Write the year on it: Add the child's name and the year (the tag has a spot for both) so families remember exactly when it was made.
- Send them home with a grown-up: They're tall and awkward for little arms, so hand them off at pick-up rather than in a cubby.
Free for You
Winter Dressing Chart
A simple visual of the dressing steps that helps little ones get into their winter gear more independently.
Download it free →
Have you ever made a keepsake gift that families still talk about? Tell me in the comments. I'd love to hear about it!
— Kayla, Capable Learners
Follow along on Instagram: @capablelearnersdayhome
